Apple Pay
In a nutshell
Allow customers to securely make payments using Apple Pay on iOS and Safari.
Feature Availability
This feature is available to businesses in all markets except South Africa.
Activating Apple Pay
You can configure the Apple Pay channel for your web application on the Paystack Dashboard.
To enable Apple Pay on your integration, go to the Preferences page on the Paystack dashboard and check the Apple Pay option.
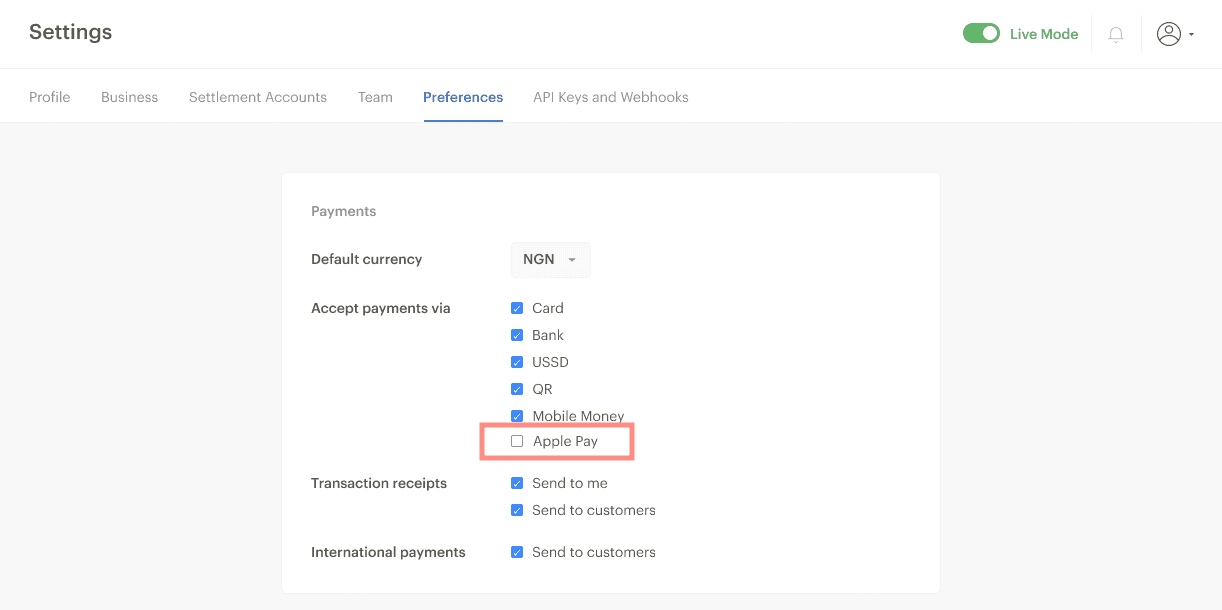
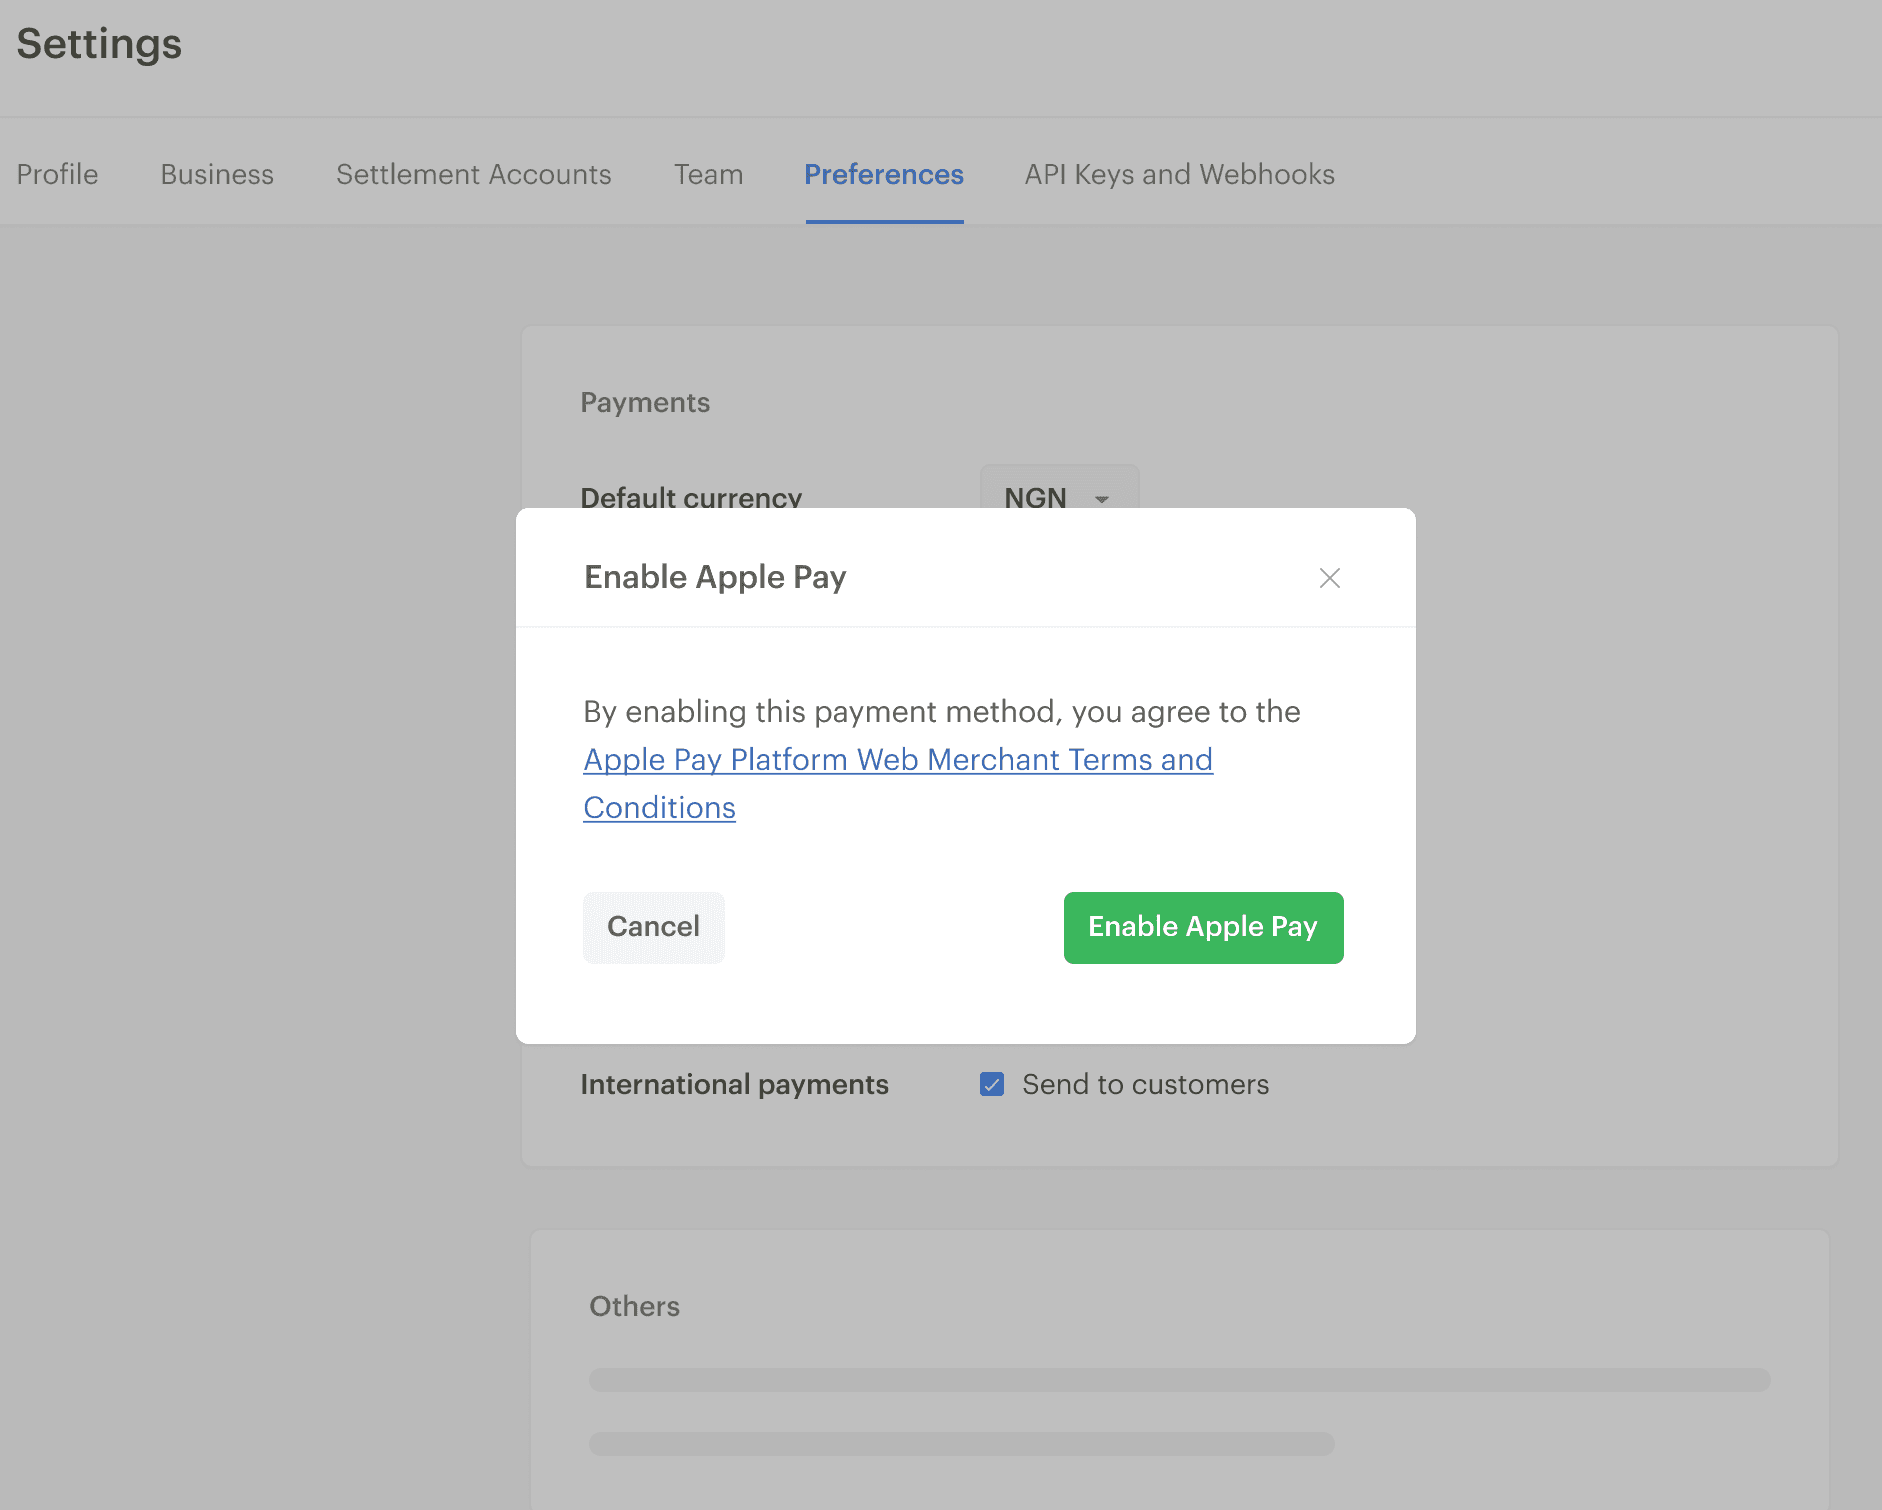
Once checked, you'll be prompted to enable Apple Pay by accepting the Apple Pay Platform Web Merchant Terms and Conditions.
Clicking on the Enable Apple Pay button means you've read and accepted the Apple Pay Terms and Conditions.
Commerce Suite
If you make use of our Invoices, Payment Pages or Storefronts, you can now start accepting payments through Apple Pay. Merchants with a custom web application can proceed to the next section to set up Apple Pay for their application.
Setting up for your web application
Every Apple Pay request needs to be associated with a top-level domain or subdomain. To begin accepting payment with Apple Pay, you need to:
Register your domain
On the Paystack Dashboard:
- Click on the
Apple Paytab on the Settings page Under the Web Domains section, click on
Add new domainbutton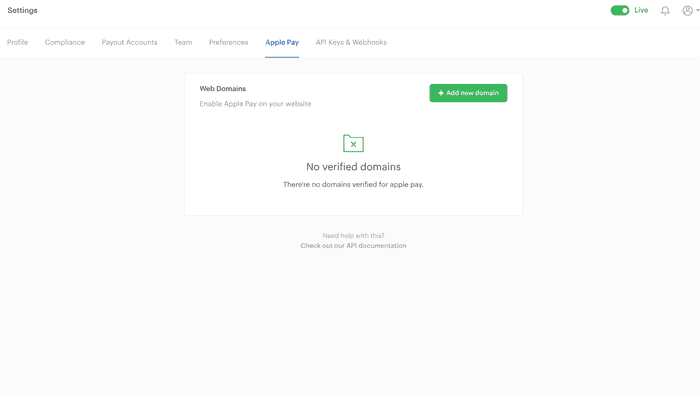
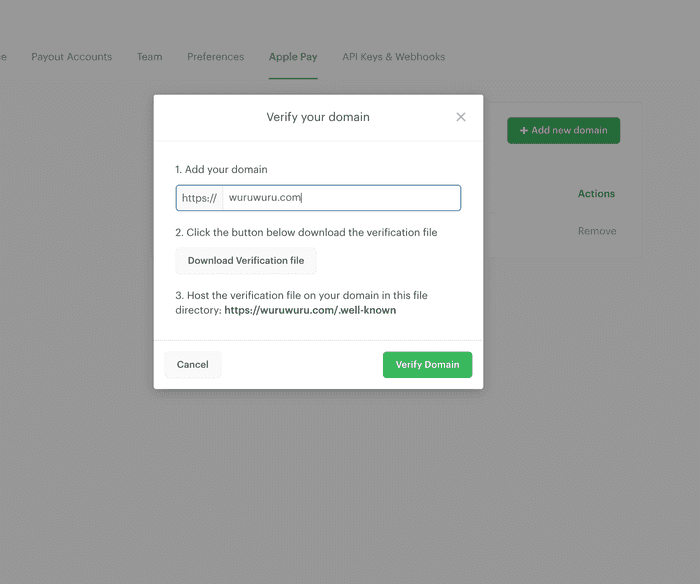
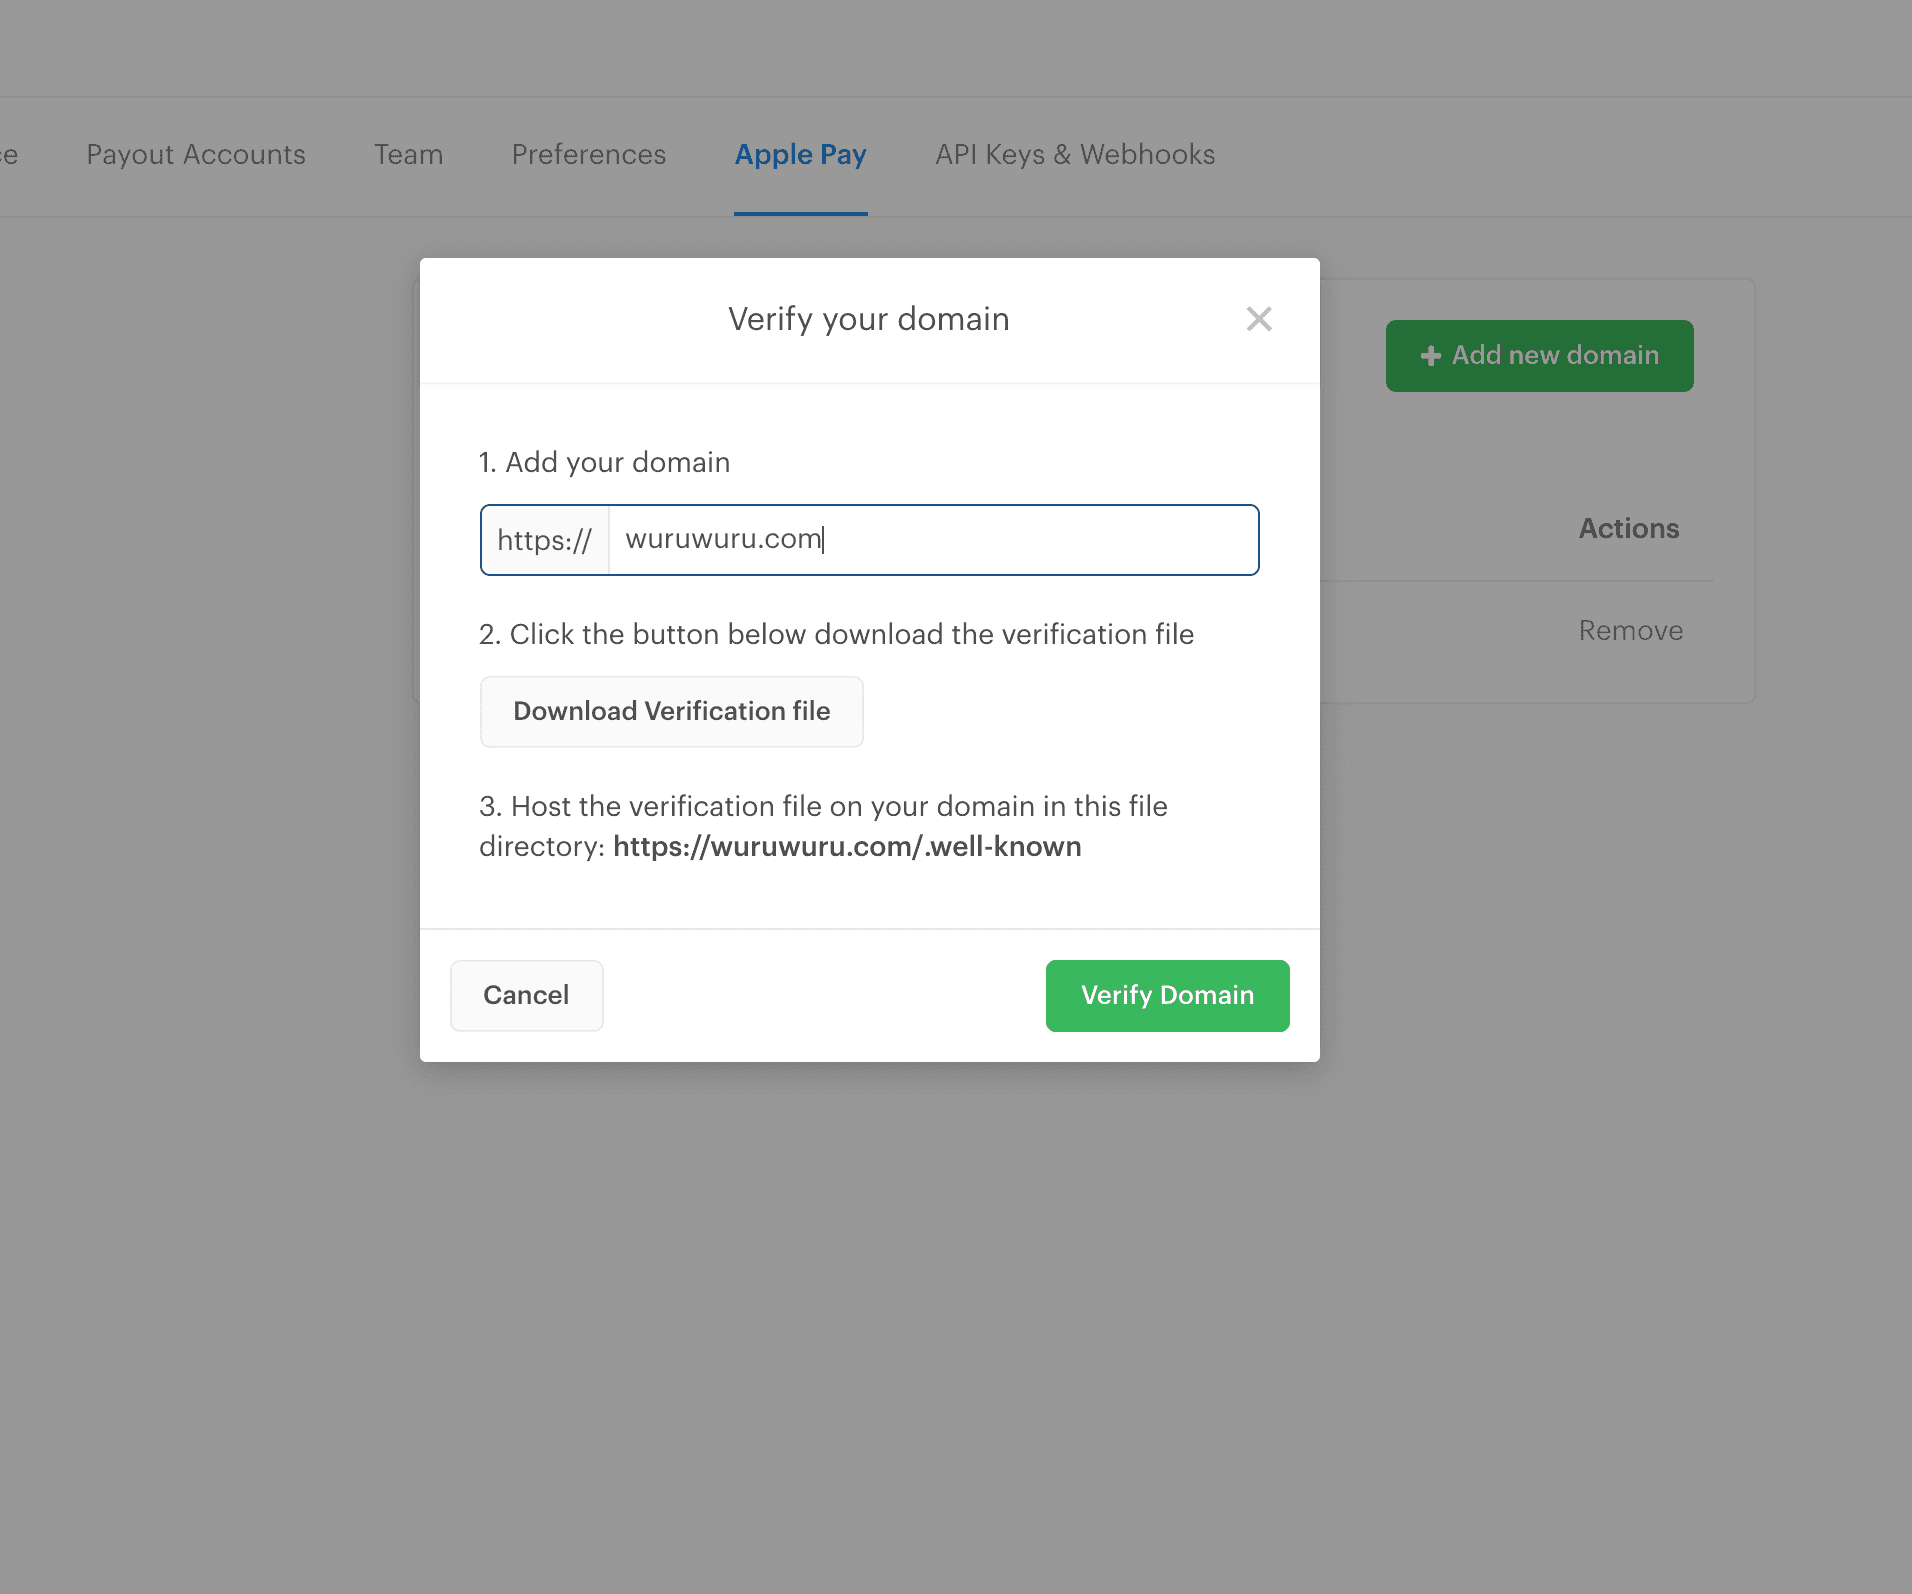
On the modal, add your domain name and download the domain verification file. The verification file will be required in the next step.

Domain Registration via API
If you would rather register your domain via API, kindly check the Apple PayAPI endpoint for more details.
Host your domain verification file
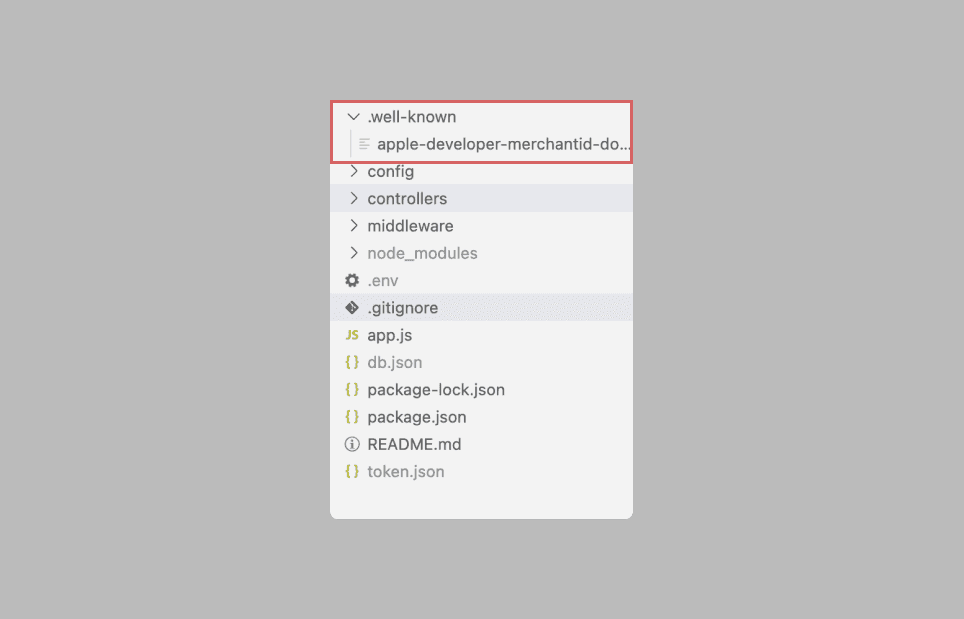
For each top-level domain and/or subdomain registered, you need to host a verification file in the .well-known folder in your website's root directory.
For example, if you registered paystack.com, then the verification file should reside in: https://paystack.com/.well-known. Likewise, if you registered music.paystack.com, the verification file should reside in: https://music.paystack.com/.well-known.
Hosting the verification file is a two-step process:
- Create a
.well-knownfolder in your website's root directory - Add the verification file previously downloaded to this folder
Domain Verification File Content-Type
Kindly ensure the domain verification file is returned with a content-type of application/text. Using a different content-type could cause your customer's payment to fail.
Verify your domain
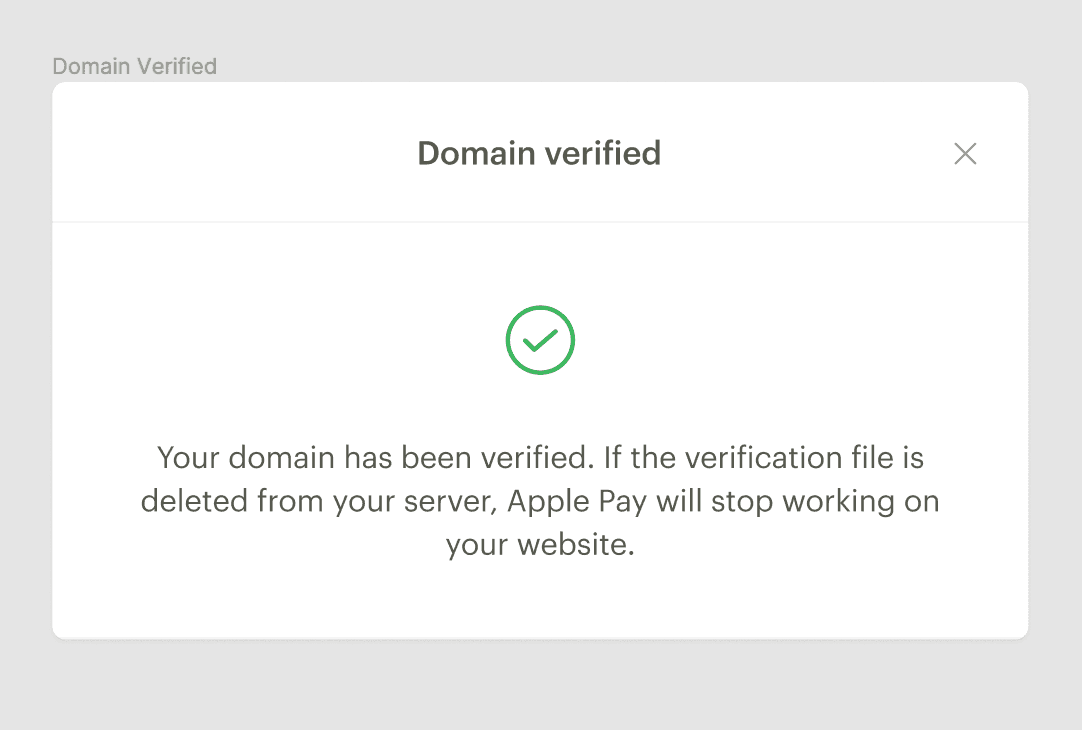
You should now go back to the dashboard to verify your domain. On the Verify your domain modal, click the Verify Domain button to complete your domain registration. If all goes well, you should get a domain verified message like this:
Setting up on Popup
Compatibility
Apple Pay works on version 2 of our InlineJS only. If you are using version 1 follow this migration guide before proceeding.
There are two ways to set up Apple Pay in your frontend application:
- Mounting a payment request button
- Using a pre-checkout modal
Mounting a payment request button
This method allows you to position the Apple Pay button in line with your design. It's a flexible method with a two-step process:
- Create a container
- Set up the payment request
Create a container
This process involves adding the HTML tags that will house the Apple Pay button as well as the button to load other payment options:
- HTML
1<!-- Payment request buttons, styles and event listeners will be injected to this div -->2<div id="paystack-apple-pay"></div>3<button id="paystack-other-channels">More payment options</button>
You should use a div tag with a unique id for the container of the Apple Pay button. paystack-apple-pay is used in the snippet above, however, you can use any name you prefer. This id will be used to configure and load the Apple Pay button.
Set up the payment request
In order to configure the Apple Pay button, you need to pass the container id and the id for the other channels in the paymentRequest() method:
- Javascript
1const paystackPop = new PaystackPop();23await paystackPop.paymentRequest({4 key: 'pk_domain_xxxxx', // Replace with your public key5 email: 'CUSTOMER_EMAIL',6 amount: amount * 100, // the amount value is multiplied by 100 to convert to the lowest currency unit7 currency: 'NGN', // Use NGN for Naira or USD for US Dollars8 ref: 'YOUR_REFERENCE', // Replace with a reference you generated9 container: 'paystack-apple-pay', // ID of div to mount payment button elements10 loadPaystackCheckButton: 'paystack-other-channels', // ID of button to trigger opening Paystack checkout (optional)11 style: {12 theme: 'dark', // 'light' or 'dark'13 applePay: {14 margin: '10px',15 padding: '10px',16 width: '100%',17 borderRadius: '5px',18 type: 'pay', // Default value is 'pay'. See other apple pay button types here https://developer.apple.com/documentation/apple_pay_on_the_web/displaying_apple_pay_buttons_using_css19 locale: 'en'20 }21 }, // custom styles for button elements22 onSuccess(response) {23 // handle success24 },25 onError() {26 // handle error27 },28 onCancel() {29 // handle cancel30 },31 onElementsMount(elements) { // { applePay: true } or null3233 }34});
Using a pre-checkout modal
This method doesn't require any additional HTML elements as we do the heavy lifting for you. You can simply tie your payment button to the checkout() method:
- Javascript
1const paystackPop = new PaystackPop();23async function payWithPaystack() {4 await paystack.checkout({5 key: 'pk_domain_xxxxx',6 email: 'example@email.com',7 amount: 10000,8 onSuccess: (transaction) => {9 console.log("Transaction: ", transaction)10 },11 onCancel: () => {12 console.log("Pop up closed!")13 }14 });15}
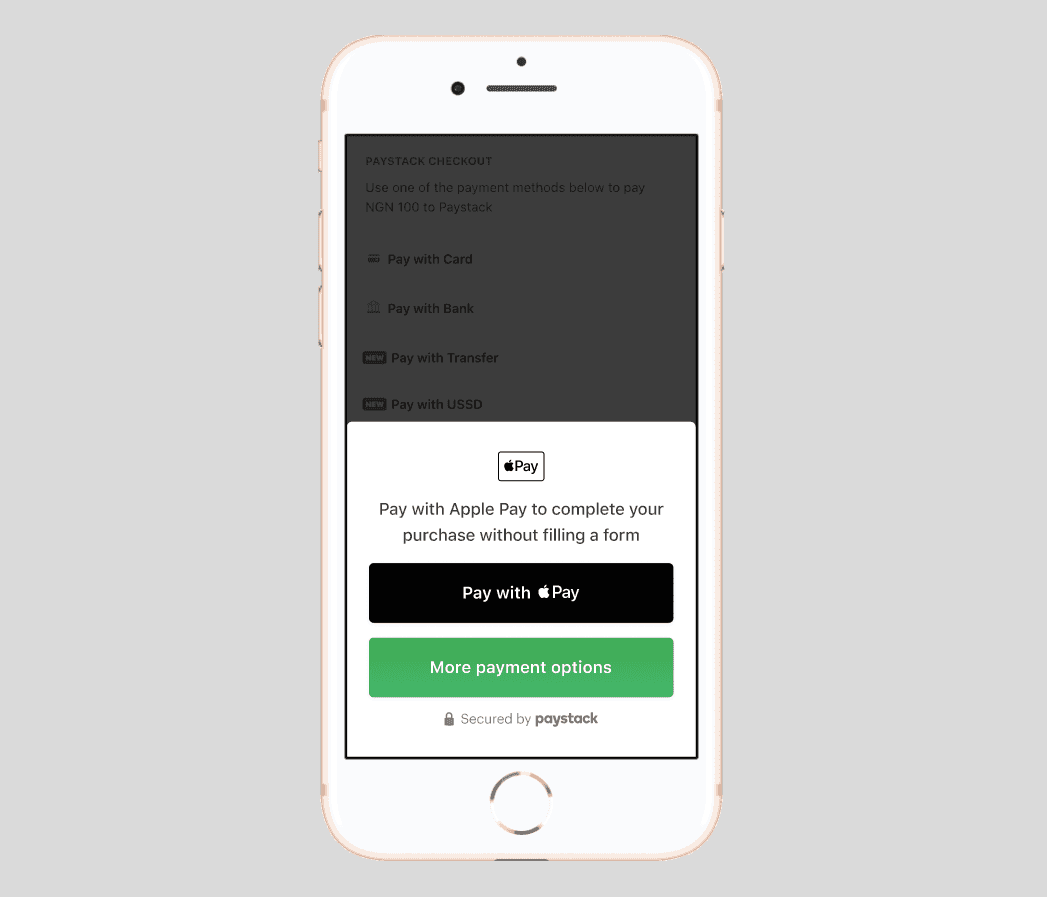
The checkout method checks if the user is on an iOS device or the Safari browser. If the user is on an Apple device, we load a pre-checkout modal that contains the Apple Pay button and a button to load other payment options. Otherwise, we simply load the checkout:
Troubleshooting
If you experience any issues with your Apple Pay integration, kindly ensure there wasn't an oversight during set up:
- Your server must serve all requests via HTTPS
- You've registered and verified your domain on the dashboard
- You've hosted your domain verification file in the
.well-knownfolder in your website's root directory - If your server requires an external server whitelisted before communication can be initiated, you will need to whitelist Apple's IP addresses.
If all checks out and you are still having issues with your Apple Pay integration, here are some possible errors and resolution you can try out:
| Error | Resolution |
|---|---|
| Apple Pay Session could not be initiated | We couldn’t initiate a web session for the payment. Kindly try again. |
| Apple Pay Transaction not allowed because merchant is not enabled for international payments. | You need to check if your business is eligible for international payment. If your business is eligible, kindly follow this guide to activate international payment. |
| Merchant's Category not supported for Apple Pay transactions. | For compliance reasons, only specific business categories are allowed to use Apple Pay. |